


The careful Art of fleece preparation
As if I don't have enough rabbit holes to disappear into, I seem to have found another one... the careful Art of fleece preparation.
Prepping raw fleece never really appealed to me because a strong sheepy smell just makes me want to .:: H U R L ::. (one of the main reasons I don't work with BFL very much)
Plus, combed tops are much easier, right?
No dirt, no grease, no sheepy odour... instant gratification ... BOOM :)
I am right with you there, people!
We live in a fast world. We've become accustomed to convenience because, as crafts people, there's so many things we want to achieve in that precious 'us' time... and plenty of other places our time has to be spent, as mothers, workers, carers etc
It's very difficult finding a balance where all the boxes are sufficiently ticked... trust me, I know.
But, find the right fleece, from a flock that's been well looked after, and masterfully sheared, and you'll be so surprised as to the ease of preparation. Yes, it's not a fast process, but there's a lot of satisfaction in taking something slow, learning & finding your feet... and it's good to slow it all down once in a while, because it's sometimes about the journey.
Not about how fast you get there.

I only wanted about 200g to try, just to see if I could actually do it, but after a lengthy conversation with Mike Churchouse, of Sheer Sheep fame... (you may have seen his shearing roadshow at events such as FibreEast...) I happily agreed to a kilo of his home grown Saxony Merino, and with his left testicle as surety against the quality, the deal was sealed :P
I won't lie to you, this did start out to be a 'tick off my bucket list' exercise ... but sofar, it's been more than that.
There's something awesome in seeing lanolin melting into a sink full of soap filled water and going milky for just a second... that's when you know you got it right.
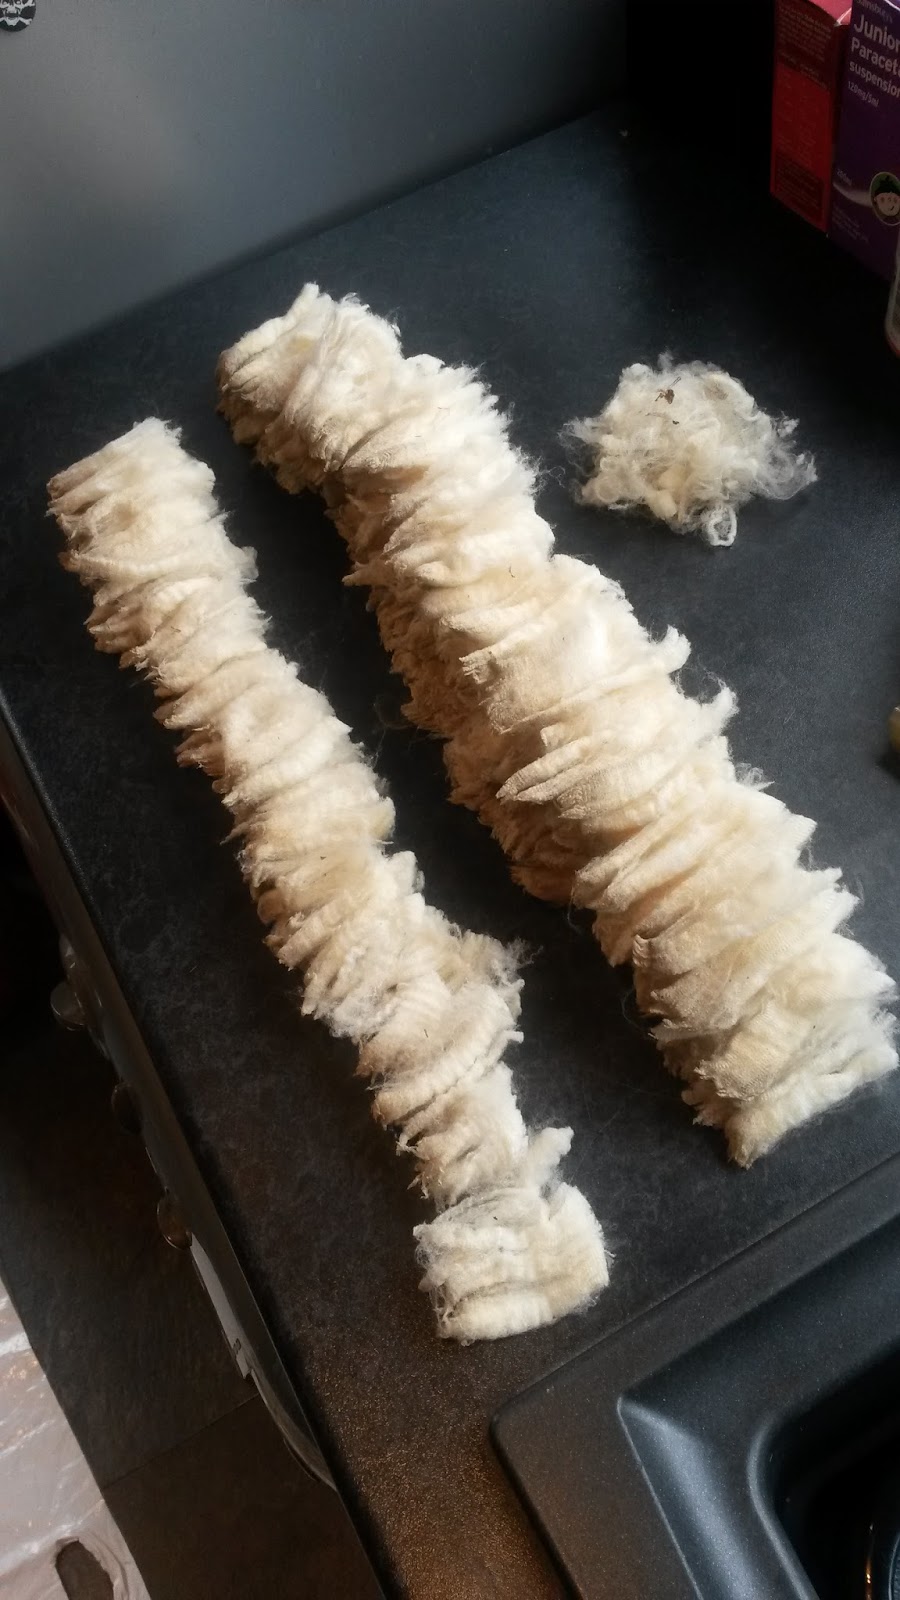
In this picture, I've arranged about roughly of 100g locks into longer and shorter cuts... with the little pile to the side being the second cuts and really dirty stuff...
Have done a lot of research on the interwebs over the years, so I had an idea of where to start...

I definitely made the right decision to go with Mike's fleece... it's really lovely to handle, even in the grease... and it isn't that dirty either... I rather think that Mungo the Ram is a pampered fella :)

Someone I have regularly been referred back to in my research is Beth Smith. You'll probably all know her on Ravelry/Twitter/Instagram as Threesheeps... she is a spinning and fleece prep teacher, and her writing style really appeals to me.
She also has an extensive collection of tiaras, which is also quite appealing :P
Her advice on handling fine fleece, as well as this tutorial got me started...

I soaked one of these bundles overnight in cold water, then today I filled my kitchen sink with extremely hot, Ecover washing up liquid filled water, and let it soak for 5 minutes. I think I squooshed it down 2 or 3 times... and delighted at the lanolin whooshing out :)
I did the same thing again, in just the hot water, to rinse out the detergent... then undid the bundle of locks and laid them all out onto a towel to dry.
It was a lot easier than I ever envisioned!
And I didn't felt it... not even close :)

The next steps are where the hard works begins... the combing & remembering which end I combed from when it comes to spinning it all hahaha
My lovely woolly friend Freyalyn has lent me her double pitch Majacraft mini-combs to try, the perfect weapon for the Zombie apocalypse (as well as for combing out fine wool locks...) and I am going to get myself a fine dog grooming comb, as I found an ace youtube tutorial for combing locks too...
What an adventure, eh?
Bring the horizon!
posted by BabyLongLegs @ 1:59 AM
6 comments
![]()


